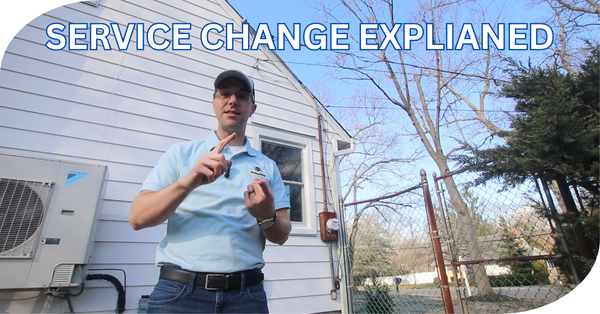
200A Service Upgrade: A Video Guide for Homeowners and Budding Electricians
In this video, I explain what to expect and what is done during a 200A service replacement. Whether you’re a homeowner or an aspiring electrician, this guide will help you understand the process and what happens during a service change. Here, we are upgrading this house to a 200A service. Please see New Electrical Panel Vs. New Circuit Installation or contact us if you have any question about needing a service replacement!
Introduction to Service Replacements
In this video, we focus on an overhead service, one of the most common types. We’re going to upgrade this service to a 200A (200 “amp”) service. An overhead service involves a line from the utility pole at the street being attached to your house. From there, the homeowner is responsible for the rest of the service components, which include:
- Conductors from the utility: These bring power from the street to your house.
- Meter Pan: This measures the amount of electricity your household uses.
- Conductors from the meter pan to the main electrical panel: These distribute power throughout your home.
Reasons for 200A Service Upgrade or Replacement
There are two main reasons to replace a service:
- Increasing Ampacity: Upgrading the service to handle more electrical load, such as a 200A Service upgrade.
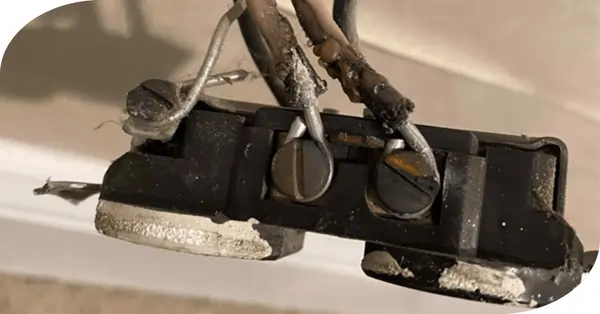
- Age or Damage: Replacing due to wear, rust, or water damage.
***It’s important to note that a single tripping circuit breaker does not usually mean you need a new service or panel. If someone suggests this, seek a second opinion.
Steps in Service Replacement
Preparation
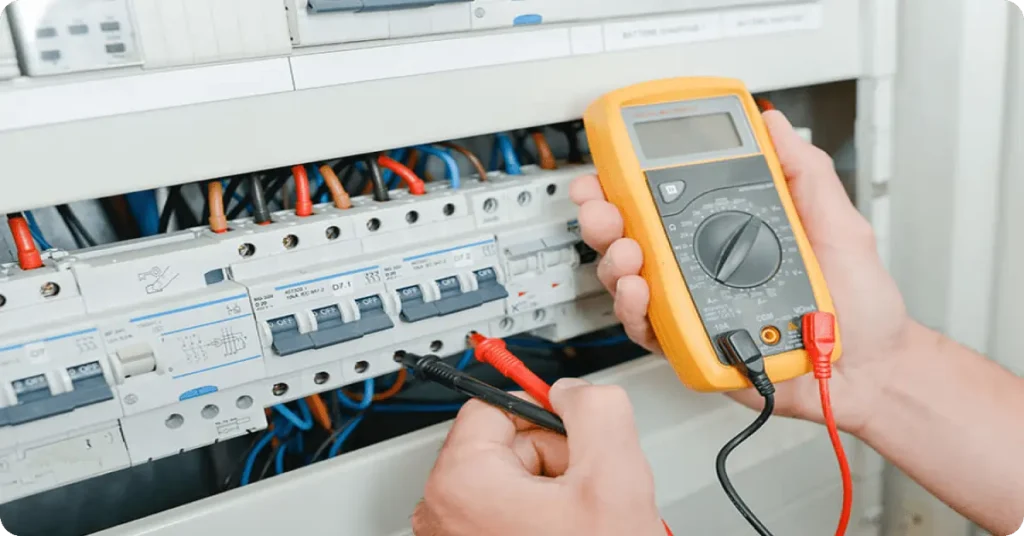
- Turn off all branch circuits: This ensures safety before starting any work.
- Remove the electrical meter: This prevents any current from entering the house during the process.
Disconnecting the Old Service
- Disconnect utility power: Always disconnect the neutral last and reconnect it first for safety.
- Remove the old service: Take out the rusted and damaged components.
Installing the New Service
- Prepare the new 200A Service meter pan: Attachment of the hub and opening of the necessary knockouts.
- Situate the new SEU cable: We coordinate with the person working on the panel inside the house.
- Install the meter pan: Secure the SEU cable and fasten the wires. The 200A service wire size is 2/0 Copper or 4/0 Aluminum.
- Install a new ground rod (electrode): Connect the grounding conductors to the grounding electrode from the new panel.
- Run conductors for other grounding electrodes: Usually, a copper water pipe, secured with clamps.
Building the Top of the Service
- Install PVC conduit: From the meter pan to the weather head, one sealed unit prevents water entry.
- Feed and terminate conductors: We always terminate the neutral first! This is important.
Panel Replacement
- Removal of the old panel and backing board: We first identify all circuits and remove the old, rusted components.
- Install the new panel and backing board: Once mounted, we start with the SEU and then connect all branch circuits, again, the 200A service wire size is 2/0 copper or 4/0 aluminum.
- Install circuit breakers and cover: Ensure all conductors are properly landed and torqued.
Conclusion
With the new components installed, the service is now in much better condition and will last a long time. This comprehensive guide aims to provide you with a clear understanding of what a 200A service upgrade (or 100A service replacement) involves from start to finish.
Again, I’m Mike from Electrical Educator and the National Electrical Registry. Thank you for watching this video.